
This post’s details come from the Running a DNS over HTTPS Client documentation page for Cloudflare’s public DNS resolver 1.1.1.1.
First, download and install the Cloudflare daemon and command-line client via Homebrew.
$ brew install cloudflare/cloudflare/cloudflared$ cloudflared --versionThe Cloudflare client provides several ways to connect to and use the Cloudflare network, but we’ll configure it as a local DNS resolver that proxies Cloudflare’s public DNS service using HTTPS. The following commands set up our config file.
$ mkdir -p /usr/local/etc/cloudflared$ cat << EOF > /usr/local/etc/cloudflared/config.yml
proxy-dns: true
proxy-dns-upstream:
- https://1.1.1.1/dns-query
- https://1.0.0.1/dns-query
EOFNext, we need to launch the daemon when our computer boots. By default, cloudflared listens for DNS queries on localhost:53 which is a privileged port, so the service needs to be run by a privileged user.
$ sudo cloudflared service install
INFO[0000] Installing Argo Tunnel client as a system launch daemon. Argo Tunnel client will run at boot
INFO[0000] Outputs are logged to /Library/Logs/com.cloudflare.cloudflared.err.log and /Library/Logs/com.cloudflare.cloudflared.out.log
At this point, restart your computer so the daemon will run with our configuration. Use the following dig command to verify our local DNS resolver proxies Cloudflare and returns results.
$ dig +short @127.0.0.1 cloudflare.com AAAA
2606:4700::6811:af55
2606:4700::6811:b055
Success 🙌
With the pieces in place, we can update our system network settings to use our local DNS resolver. Open the macOS Network System Preferences pane and click the Advanced… button.

Select the DNS tab and click the + icon to add a DNS server address; 127.0.0.1.

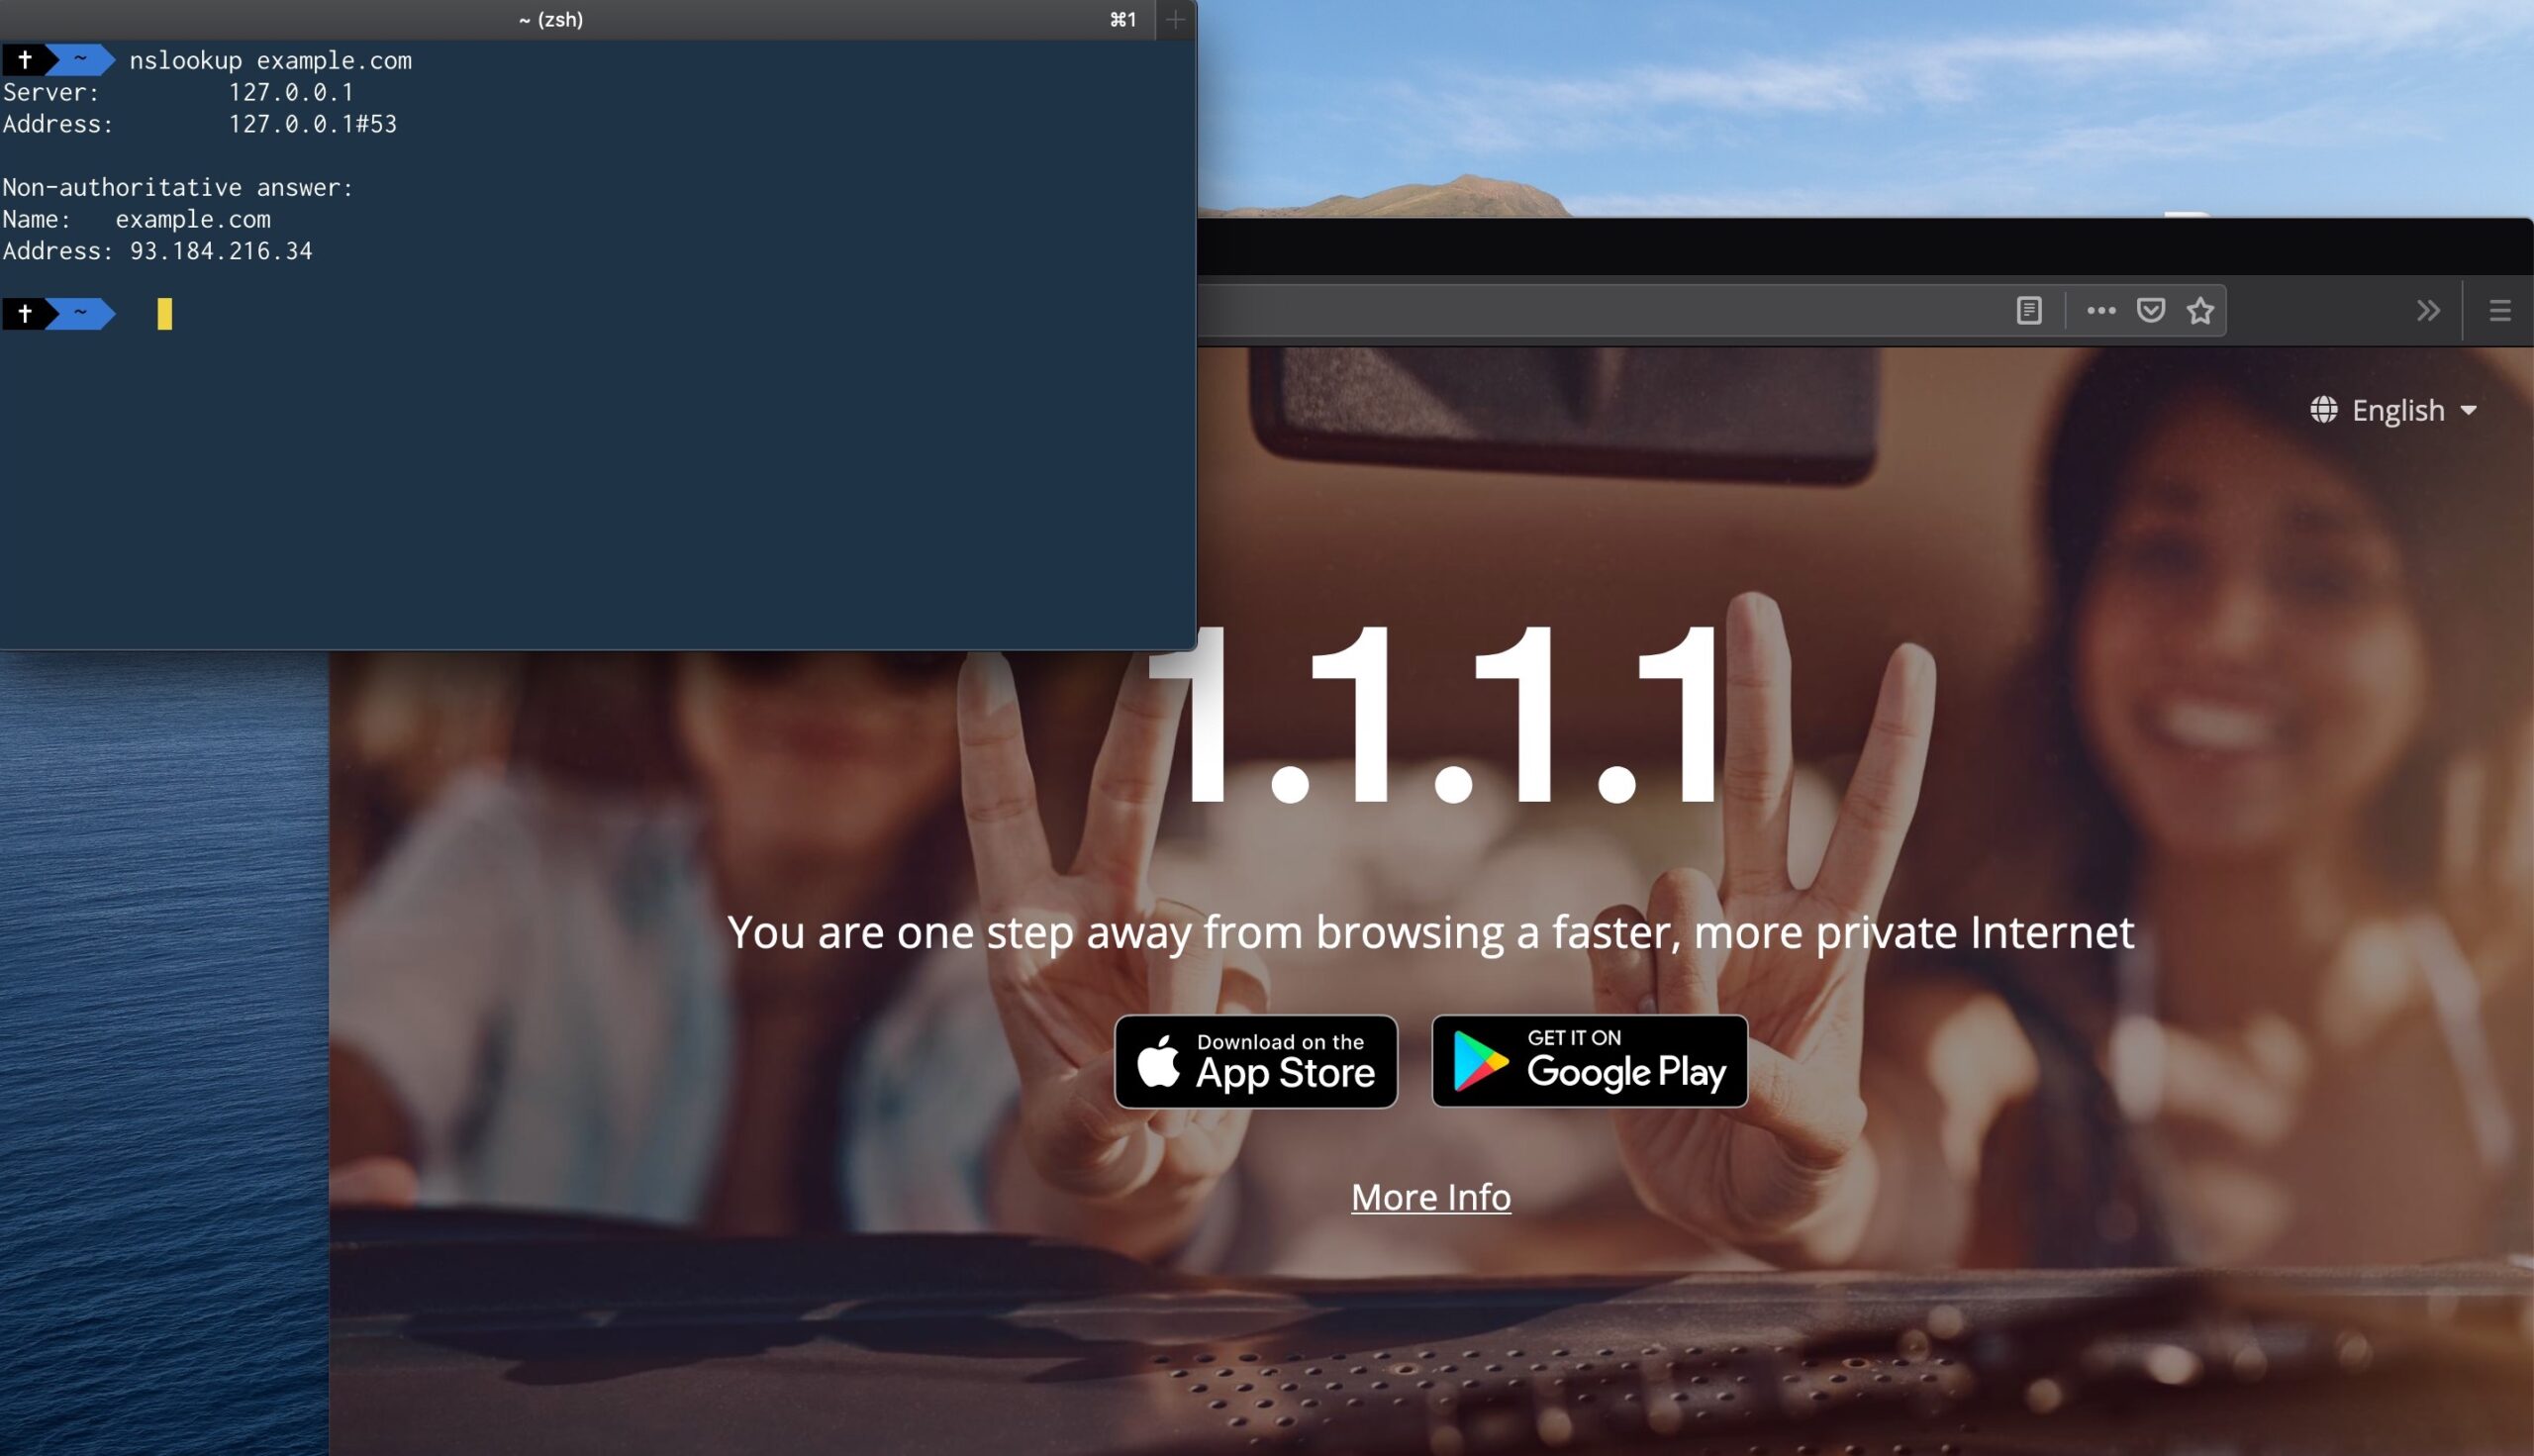
Your macOS system is now configured to use Cloudflare and DoH. We can verify this is the case using nslookup.
nslookup example.com
Server:		127.0.0.1
Address:	127.0.0.1#53

Non-authoritative answer:
Name:	example.com
Address: 93.184.216.34
The important part here is: Address: 127.0.0.1#53. This indicates DNS queries are happening via the IP address, and the port cloudflared is listening on. Alternatively, open https://1.1.1.1/help in your browser and confirm Using DNS over HTTPS (DoH) is showing Yes .

macOS 11 will provide options to encrypt DNS
At Apples WWDC20, Apple announced the ability to enable encrypted DNS will be built into macOS 11. Similar options will be available to iPhones and iPads as of iOS 14
When people access the web within your app, their privacy is paramount. Safeguard that information by leveraging encrypted DNS across our platforms to deliver private and secure connectivity within your app. Discover how you can use system DNS settings to connect to encrypted servers or enable encrypted DNS within an app using standard networking APIs. Enabling encrypted DNS is yet another way your app can help preserve privacy for your customers and provide them with a better and more secure experience.
https://developer.apple.com/videos/play/wwdc2020/10047/
Once macOS 11 lands, we can remove the Cloudflare daemon and simply set our DNS server settings via Network System Preferences.
Leave a Reply